|
|
|
|
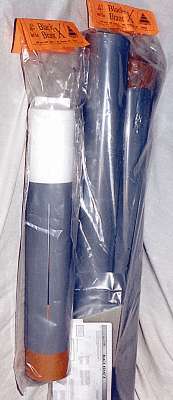
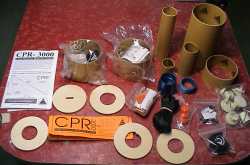
Kit cost $150 and comes in two big bags.
|
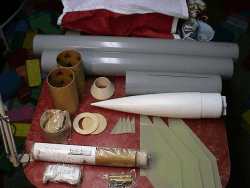
Contents of bags.
|
|
|
|
|
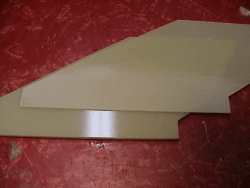
All fin surfaces which will be epoxied must be sanded to roughen the surface.
|
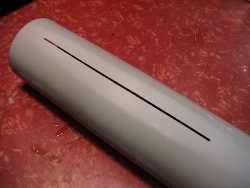
Also, all body tubes must be sanded both inside and outside where epoxy comes in contact.
|
|
|
|
|
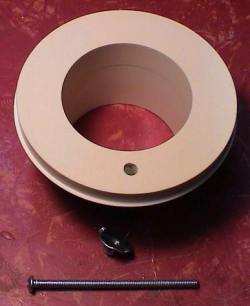
The CPR3000 system from PML. This is the Dual Deployment kit. I didn't know that were so many parts. Now I know why is cost $105!!
|
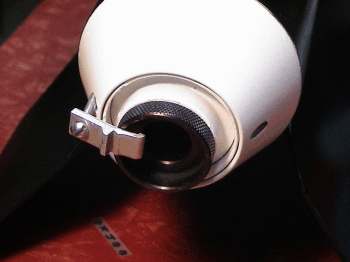
For engine retention I am using the old T nut and screw drilled into the boat tail section trick.
|
|

|
|
|
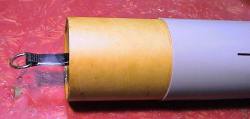
The 54mm engine mother tube and centering ring. The strap is cut down from its original length when using the CPR option. The boat tail is not yet epoxied.
|
Once the motor mount assembly is glued in the bottom tube, the coupler and strap are epoxied. Less than 1/2 the recommend length of the coupler is in the tube but PML says is it OK.
|
|
|
|
|
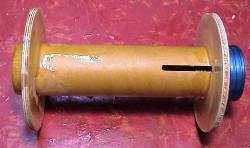
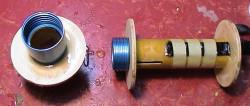
Aft section of CPR unit under construction.
|
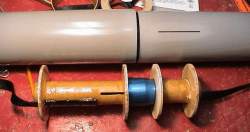
Aft section's strap is being glued and fore section under construction.
|
|
|
|
|
The two CPR sections done and ready to be epoxied into the body tubes.
|
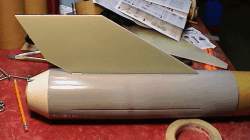
The long tedious job of gluing the fins on is next.
|
|
|
|
|
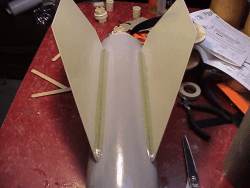
2 fins attached with fillets being added.
|
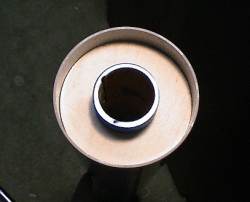
The aft CPR unit is now epoxied in the aft body tube.
|
|
|
|
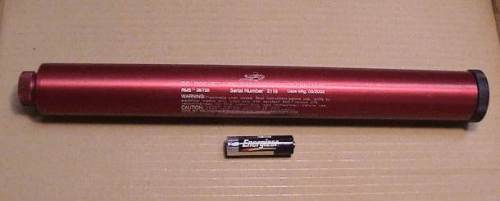
The Black Brant X will hopefully fly on a J350 engine which requires a 38/720 engine casing shown above. This isn't your son's engine!
|
|
|
|
|
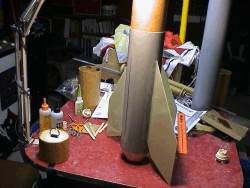
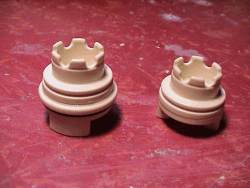
Three fins on and one piston complete. I sure do have a messy work area, don't I?
|
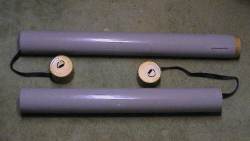
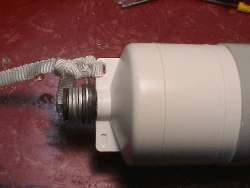
The two charge holders that hold the black powder to eject both chutes.
|
|
|
|
|
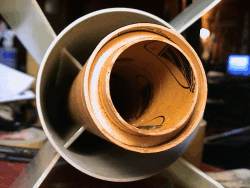
The CPR unit is installed in both main tubes along with the ejection pistons.
|
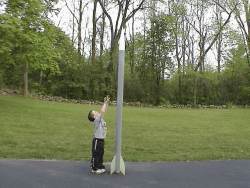
Rocket still needs alot of work but I wanted to take a picture to show how big it is.
|
|
|
|
|
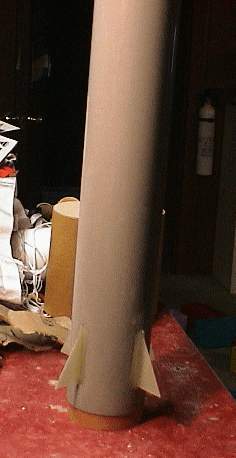
Now comes the really tedious job of epoxing all the fin/body tube/engine tube joints (16 contact areas).
|
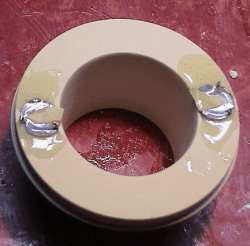
The T-nuts being epoxied into the boat tail section. Masking tape covers up the screw holes to protect them.
|
|
|
|
The method I plan to use to retain the motor. The clamp is a sink clamp; screen door clamps work too for smaller rockets.
|
|
|
|
|
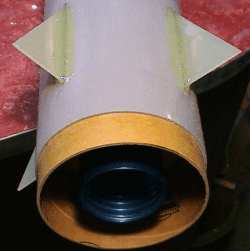
The top section's canard fins will be installed now.
|
All 4 canard fins installed and epoxy fillets are being added.
|
|
|
|
|
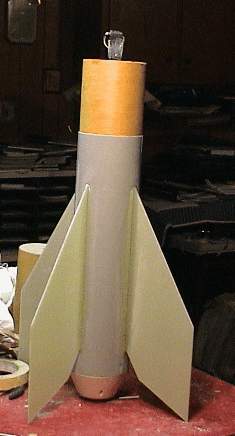
The top section is done, just needs sanding and paint.
|
The bottom section is done, just needs sanding and paint.
|
|
|
|
|
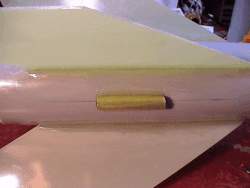
The bottom launch lug is put on. I want to add more epoxy to the fillets. Then I can sand this unit and paint it.
|
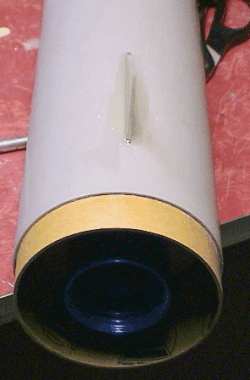
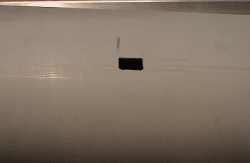
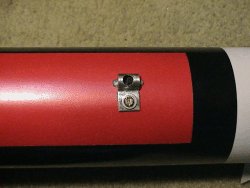
The hole to mount the altimeter on/off switch is being cut here in the forward section.
|
|
|
|
|
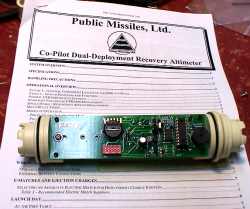
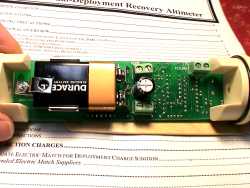
The PML Co-Pilot Altimeter! The symbol of an advanced rocketeer! 8-)
|
Back side of altimeter showing connection points. Click here to see the altimeter being test fired.
|
|
|
|
|
To protect the altimeter switch from being bumped in flight turning it off, I installed a metal guard over the switch.
|
After the rocket was completed, I measured the center of gravity and found it wasn't 1 caliper (4") before the CP so I added some nose cone weight to shift the CG forward 2".
|
|
|
|
|
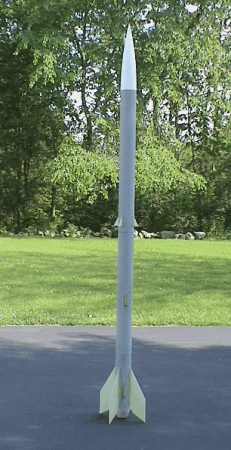
The Black Brant X all finished and ready to be painted.
|
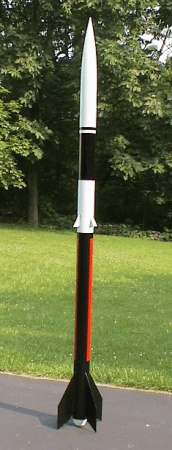
The rocket all done. Click here to see launch day photos.
|

